Introduction
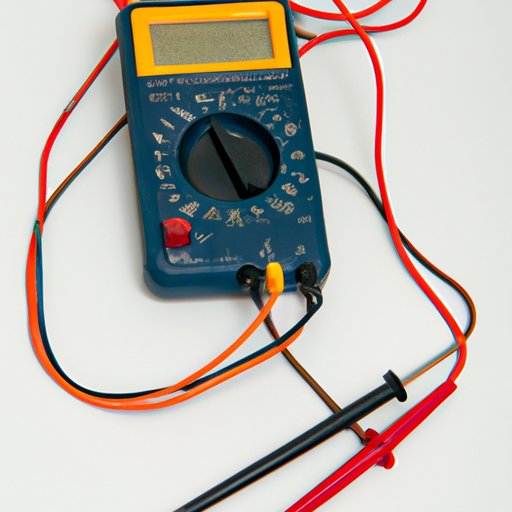
If you’re working with electronics, a multimeter is an essential tool for measuring voltage, resistance, and current. Multimeters can also be used to test batteries, check fuses, and troubleshoot electrical problems. In this article, we’ll provide a step-by-step guide to using a multimeter, explain common uses for your multimeter, and offer tips for troubleshooting with your multimeter.
A Step-by-Step Guide to Using a Multimeter
Before we dive into how to use a multimeter, let’s take a brief look at what a multimeter is. A multimeter is a device that measures electrical properties such as voltage, resistance, and current. There are two types of multimeters: analog and digital. Digital multimeters are easier to read and offer more functions, while analog multimeters offer more precise readings for certain functions.
Preparation for using a multimeter
Before using your multimeter, make sure that:
- The battery in the multimeter is fresh
- The multimeter is set to the correct setting for the measurement you need to take
- The leads or probes are plugged into the appropriate ports on the multimeter
- The probes or leads are in good condition, with no frayed wires or damage
Step-by-Step Guide on How to Use a Multimeter
1. Measuring resistance: To measure resistance, set your multimeter to the resistance setting (Ω). Touch the probes together (which should give a reading of zero) to make sure that your multimeter is working properly. Then, touch the probes to the circuit or component you want to measure. The multimeter will display the resistance in ohms.
2. Measuring voltage: To measure voltage, set your multimeter to the voltage setting (V). Touch the red probe to the positive end of the circuit or component and the black probe to the negative end. The multimeter will display the voltage in volts.
3. Measuring current: To measure current, set your multimeter to the current setting (A). Make sure that your multimeter can handle the amount of current you need to measure. Touch the red probe to the positive end of the circuit or component and the black probe to the negative end. The multimeter will display the current in amperes.
Common Uses for Your Multimeter
Multimeters can be used for a variety of applications. Here are a few common uses:
Testing batteries
If you suspect a battery is dead, you can use your multimeter to test it. Set your multimeter to the voltage setting (V) and touch the red probe to the positive end of the battery and the black probe to the negative end. A good battery should read between 12 and 13 volts.
Checking fuses
If a circuit isn’t working, a blown fuse could be the culprit. Set your multimeter to the resistance setting (Ω) and touch the probes to either end of the fuse. A good fuse should have a reading of near zero ohms, while a blown fuse will have an infinite resistance.
Testing outlets
To make sure an electrical outlet is working properly, set your multimeter to the voltage setting (V) and touch the probes to the hot and neutral contacts on the outlet. You should get a reading of around 120 volts.
Troubleshooting with a Multimeter
Multimeters are also great tools for troubleshooting electrical problems. Here are a few tips and tricks for using your multimeter to locate and fix problems:
Testing the ignition system in a car
If your car won’t start, the problem might be with the ignition system. Set your multimeter to the resistance setting (Ω) and touch the probes to either end of the spark plug wire. A good spark plug wire should have a reading of around 10,000 ohms.
Checking for shorts in electrical systems
If an electrical system isn’t working properly, there might be a short in the circuit. Set your multimeter to the continuity setting (the symbol that looks like a speaker) and touch the probes to either end of the component or circuit. You should hear a beep or see a reading of zero ohms if the circuit is continuous. If there is a break in the circuit, there will be no continuity.
Diagnosing a faulty thermostat
If your heating or cooling system isn’t working properly, a faulty thermostat could be the problem. Set your multimeter to the resistance setting (Ω) and touch the probes to the wires going into the thermostat. A good thermostat should have a reading of around 1,000 ohms when the temperature is set to room temperature.
Advanced Multimeter Techniques
There are a few more advanced techniques that you can use with a multimeter:
Measuring capacitance and inductance
Capacitance and inductance are two electrical properties that can be measured with a multimeter. To measure capacitance, set your multimeter to the capacitance setting (F) and touch the probes to the capacitor. The multimeter will display the capacitance in farads. To measure inductance, set your multimeter to the inductance setting (H) and touch the probes to the inductor. The multimeter will display the inductance in henries.
Safety Tips for Using Your Multimeter
While working with electrical systems, you should always take appropriate safety measures to protect yourself:
Safety equipment
- Wear safety goggles to protect your eyes from sparks and debris
- Wear rubber gloves to protect your hands from electrical shock
- Wear a face shield to protect your face from sparks and debris
Precautions when working with live circuits
- Avoid touching the probes of the multimeter while the circuit is live
- Keep your work area dry and free of water
- Avoid working with electrical systems if you’re tired or distracted
Conclusion
Multimeters are an essential tool for working with electronics. They can be used to measure voltage, resistance, and current, test batteries, check fuses, and troubleshoot electrical problems. Remember to take appropriate safety measures when working with electrical systems, and always use your multimeter responsibly to avoid injury.
