Introduction
Dealing with a clogged plumbing fixture can be a frustrating experience for homeowners. Luckily, a plunger can often be an easy and effective solution for clearing the blockage. In this article, we’ll provide step-by-step instructions on how to use a plunger and offer some expert tips to maximize its effectiveness.
Basics of Plungers
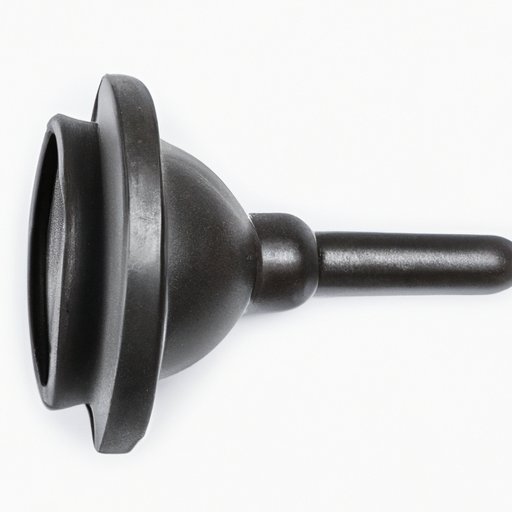
A plunger is a tool used to create suction and pressure to dislodge clogs in plumbing fixtures. There are several types of plungers, including cup plungers, flange plungers, and accordion plungers. Cup plungers are the most common plunger type, suitable for use on toilets, sinks, and shower drains. Flange plungers have an added rubber flap that can create a better seal in toilets. Accordion plungers are designed to work on sinks and bathtubs and have a bellows-shaped rubber cup.
Principle Behind Plunging Plumbing Fixtures
Plunging works by using air pressure to break up and remove blockages from inside plumbing fixtures. When the plunger is pushed down, it creates a vacuum that draws the blockage out of the fixture. When the plunger is pulled up, it creates a blast of air that pushes any remaining blockage out of the way. To maximize the air pressure created by plunging, it’s essential to create a tight seal between the plunger and the fixture.
Identifying When to Use a Plunger
Plungers are most effective on fixtures that have a relatively small blockage, such as toilets, sinks, and shower drains. Here are some signs that indicate you need to use a plunger:
- Slow draining fixture
- Fixture overflowing or backing up
- Gurgling sounds from fixture drains
Step-by-Step Instructions for Using a Plunger
Follow these steps to use a plunger:
- Fill the fixture with enough water to cover the cup of the plunger.
- Place the plunger over the fixture and create a tight seal, ensuring that the cup covers the entire fixture opening.
- Push and pull the plunger up and down in a straight motion, forcing water in and out of the fixture. Do this several times, making sure that the seal remains tight.
- Check the fixture to see if the blockage has cleared. If not, repeat the process several times, adding more water if needed.
Note: It’s important to avoid splashing water out of the fixture, which could make a mess. Try to keep the plunger cup submerged in water at all times while plunging.
Tips and Tricks for More Effective Plunging
Here are some tips to make plunging more effective:
- Use hot water to soften and help break up the blockage.
- Add cleaning solutions, such as baking soda, vinegar, or dish soap, to help dissolve the blockage.
- Use two plungers at once, one for the sink overflow and one for the drain, to create a more forceful suction.
- If the first attempt is unsuccessful, wait 20-30 minutes before trying again.
Common Mistakes to Avoid When Plunging
Here are some mistakes to avoid to ensure the most effective plunging:
- Not using enough water, which can make it more difficult to create suction.
- Not positioning the plunger correctly over the fixture, which can break the seal and reduce suction.
- Removing the plunger too quickly, which can break the suction before it has a chance to clear the blockage.
If any of these mistakes occur, don’t worry. If needed, start the process over again.
Alternative Methods for Stubborn Clogs
If plunging isn’t successful, there are other methods beyond plunging. A plumbing snake can effectively break up and remove blockages. A wet vacuum can also be useful for removing stubborn clogs. If these methods aren’t successful, it may be necessary to call a professional plumber.
Conclusion
Using a plunger is a quick and effective solution to clear blockages in plumbing fixtures. By following the steps above and using the tips provided, you can make the most out of your plunger. Remember, though, if the blockage persists, it’s best to call a professional plumber to avoid further damage to your plumbing system.
