I. Introduction
Ankle injuries are some of the most common types of injuries that occur during sports and other physical activities. Ankle taping can be an excellent way to prevent these types of injuries from happening. When done properly, ankle taping can provide support and stability to the ankle joint, preventing excessive movement and reducing the risk of injury.
This article is designed to provide a step-by-step guide to ankle taping, including equipment needed, proper techniques, and tips for success. Whether you are an athlete, a fitness enthusiast, or someone who needs extra support for your ankles, this article will provide valuable insight into proper ankle taping procedures.
II. Step-by-Step Guide to Ankle Taping
Before you begin taping your ankle, you will need the following equipment:
- Ankle tape (usually 1.5 inches wide)
- Scissors
- Pre-wrap
- Adhesive spray (optional)
Follow these step-by-step instructions to properly tape your ankle:
- Clean and dry your foot and ankle before starting the taping process.
- Apply pre-wrap over the ankle area. This can provide extra cushioning and reduce skin irritation.
- Tear off a strip of ankle tape and place it just above the ankle bone on the inside of your foot. Bring the tape around your foot, under the arch, and over the top of your foot, and attach it to the other side of your ankle on the outside. Make sure that the tape is not too tight and that you can still move your foot freely.
- Repeat this step with another strip of tape, overlapping the previous strip by about half an inch. Continue this process until you have wrapped the entire ankle area with at least two or three layers of tape.
- Once you have wrapped the ankle area, tear off a strip of tape about four inches long. Start at the back of your ankle and wrap the tape around the front of your ankle, pulling it tight as you go. Wrap the tape around the back of your ankle and then back to the front. Repeat this step until you have created a figure-eight pattern around your ankle, making sure that the tape is tight but not too restrictive.
- Repeat this step with another strip of tape, starting at the front of your ankle and wrapping around the back in a figure-eight pattern.
- Finally, take one more strip of ankle tape and wrap it around the ankle area, starting at the top of the ankle and working your way down. This will help to secure the tape and keep it from slipping.
- If you want extra support, you can use adhesive spray under the tape to help it stick better.
It is important to remember to never tape too tightly and to make sure that you can still move your foot freely. The tape should be snug but not restrictive. If it is too tight, it can reduce blood flow to the foot and cause discomfort.
Here are some tips to help you apply tape more effectively:
- Increase the number of layers of tape if you need extra support.
- Use tear-resistant tape to help prevent the tape from breaking or tearing.
- When wrapping the tape, overlap each layer by about 50 percent to ensure a good hold.
- Pay attention to areas where the tape might loosen, such as the bottom of your foot or your heel. These areas may need extra tape or support.
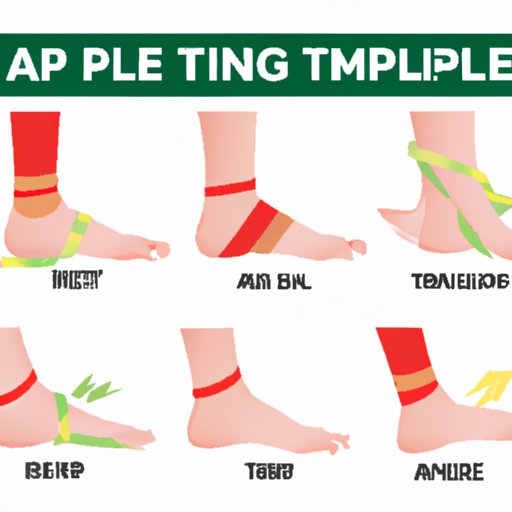
III. Using Images and Visuals to Demonstrate Ankle Taping
While the step-by-step instructions provided above can be helpful, sometimes it is easier to understand the taping process if you can see it visually. Images and visuals can help you better understand the proper techniques for ankle taping.
Below are some visuals to help guide you through the ankle taping process:
/woman-doing-ankle-taping-90248531-58d12da03df78c3c4f5807f6.jpg)
Make use of the visuals provided to ensure the proper techniques are followed.
IV. Demonstration Videos for Ankle Taping
If you still have trouble with the ankle taping procedure or want a better understanding of the process, demonstration videos can be extremely helpful. Below are some links to videos that demonstrate proper ankle taping:
- Ankle Taping Tips for Athletes
- Ankle Taping Guide for Sprained Ankles
- How to Tape Ankle for PT
- How to Tape an Ankle with Athletic Tape
To get the most out of the videos, watch them several times and try taping your ankle along with the video. This will help you get a better understanding of the process and provide more hands-on experience.
V. Types of Ankle Taping
When it comes to ankle taping, there are different types of tape you can use. Each type of tape has its own function, and some are better suited for certain types of injuries or sports. Below are some common types of tape used for ankle taping:
- Zinc oxide tape – This is a heavy-duty tape that is ideal for athletes who need extra support or have a history of ankle injuries. This tape provides strong support and works well for high-impact sports like basketball, soccer, and tennis.
- Elastic adhesive bandage – This tape is stretchy and conforms well to the shape of the foot. It is a good choice for athletes who need moderate support and flexibility. This tape works well for sports like running, cycling, and gymnastics.
- Cohesive tape – This tape sticks to itself but not to the skin, making it easy to apply and remove. It is a good choice for athletes who have sensitive skin or allergies to traditional tape. This tape works well for sports like swimming and water polo.
It is important to choose the right type of tape for your needs and the specific sport or activity you will be participating in. If you are unsure what type of tape to use, consult with a sports medicine professional or athletic trainer.
VI. Alternatives to Ankle Taping
While ankle taping can be an effective way to prevent ankle injuries, it is not the only option. Other alternatives to ankle taping include ankle braces or different types of shoes. Below are some commonly used alternatives:
- Ankle braces – These are specifically designed to provide support and stability to the ankle joint. They are a good choice for athletes who have chronic ankle instability or those who need additional support. Ankle braces can also be more comfortable than tape for some individuals.
- High-top shoes – These shoes provide additional support over the ankle area, reducing the risk of ankle injuries. This type of shoe works well for sports like basketball and volleyball.
- Insoles – These are inserts that go inside the shoe and provide added cushioning and support. This can be helpful for individuals who need extra support but do not want to use tape or braces.
Each alternative has its own benefits and drawbacks. Before using an alternative to ankle taping, it is important to consult with a physician or sports medicine professional to ensure that it is appropriate for your situation.
VII. Frequently Asked Questions
Below are some of the most frequently asked questions about ankle taping:
How long should the tape stay on?
The tape should be removed after the activity is completed. Leaving the tape on for too long can cause skin irritation and reduce blood flow to the foot.
How do you remove the tape?
When removing the tape, it is important to do so slowly and carefully. Gently peel the tape off the skin, being careful not to pull too hard or too fast. If the tape is difficult to remove, try soaking it in warm water or rubbing alcohol before peeling it off.
What should you do if your foot is swollen?
If your foot is swollen, it is important to rest and elevate it. Applying ice can also help to reduce swelling. If the swelling does not go down within a few days, consult with a physician or sports medicine professional.
VIII. Conclusion
Ankle injuries can be painful and debilitating, but they can also be prevented with proper ankle taping techniques. This article provided a step-by-step guide to ankle taping, including equipment needed, proper techniques, and tips for success. Additionally, images and videos were included to provide the necessary visuals for proper technique. The article included information on different types of tape and alternatives to ankle taping, as well as frequently asked questions. Remember to take the time to properly tape your ankles before participating in sports or other physical activities.