I. Introduction
Are you a Mac user who is struggling with taking a screenshot? Do you need some guidance on how to master the art of taking perfect screenshots on your Mac? If so, you’ve come to the right place. This article offers a comprehensive guide on how to take a screenshot on Mac for beginners. Whether you are a student, teacher, professional, or just someone who wants to make the most of your Mac, this article covers everything you need to know to take a screenshot with ease.
II. Step-by-Step Tutorial Approach
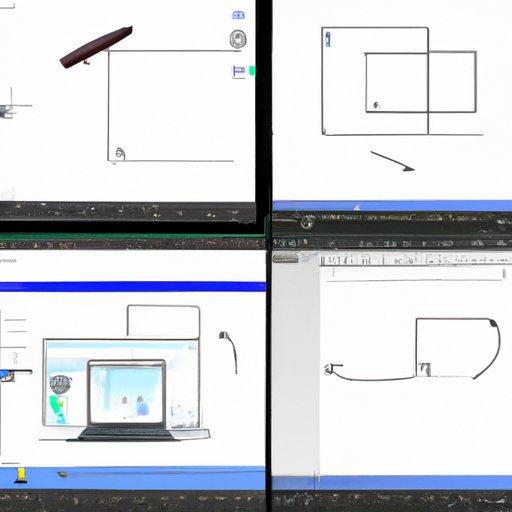
Before we get into specific tools and apps, let’s start with the basics. Here’s our step-by-step tutorial on how to take a screenshot on Mac:
- Press Command + Shift + 3 to capture the entire screen.
- Press Command + Shift + 4 to capture a specific area of the screen. Drag the cursor around the area you want to capture.
- Press Command + Shift + 5 to access the screenshot toolbar, which offers more options such as video recording, selecting a specific window, etc.
- The screenshot files will be saved on your desktop by default. If you want to change the default save location, or save it to the clipboard, use the screenshot toolbar to set your preference.
It’s that easy! If you’re new to Mac or have never taken a screenshot before, we recommend starting with this tutorial to get the hang of things.
III. Video Tutorial Approach
For visual learners who prefer video tutorials, this approach is for you. Here’s our recommended process:
Tools: QuickTime Player, a screen recording software that comes pre-installed on Mac.
Benefits: Video tutorials are a great teaching tool that provides a more immersive and engaging experience. They’re great for demonstrating step-by-step processes, such as taking a screenshot.
Here’s a quick step-by-step video tutorial on how to take a screenshot on Mac.
IV. Top Tools or Apps
Now that you know how to take a screenshot on Mac using the built-in tools, let’s discuss some third-party tools and apps that can take your screenshot game to the next level.
Tools: Snagit, Skitch, Lightshot, Monosnap.
Comparison: Each of these tools offers unique features, such as annotation, editing, and sharing capabilities. Here’s how they compare:
| Tool | Features | Price |
|---|---|---|
| Snagit | Annotate, edit, share, and video capture | $49.95 (Free trial available) |
| Skitch | Annotate, edit, and share | Free |
| Lightshot | Capture, annotate, and share | Free |
| Monosnap | Annotate, edit, and share | Free, Premium version available |
If you’re looking for something beyond the built-in tools, one of these tools might be right for you.
V. Tips and Tricks Approach
For those who want to take their screenshot skills to the next level, here are some tips and tricks:
Shortcuts: You can use the following shortcuts to take screenshots faster.
- Command + Shift + 3: Capture the entire screen
- Command + Shift + 4: Capture a specific area of your screen
- Command + Shift + 4, followed by the Space Bar: Capture a specific window
- Control + Command + Shift + 3: Save screenshot to clipboard
- Control + Command + Shift + 4: Capture a specific area and save it to the clipboard
Regions: You can capture only a specific region of the screen by holding down the Command key, Shift key, and 4 key. Drag the cursor so that it selects only the region you want to capture. This is useful if you only want to capture a small portion of the screen.
Edit: You can edit screenshots using Preview, a pre-installed app on Mac. You can crop, resize, annotate, and add text or objects to your screenshots using Preview.
VI. Troubleshooting Guide Approach
If you’re experiencing issues taking screenshots, this approach is for you. Here’s a guide on what to do if something goes wrong:
Issue: Screenshot won’t save.
Solution: Check that you have enough space on your Mac. If your Mac is running low on storage, free up some space and try taking a screenshot again.
Issue: Screenshot is too dark.
Solution: Check your Mac’s brightness levels. If it’s too low, increase the brightness and try again.
Issue: The cursor appears in the screenshot.
Solution: If you don’t want the cursor in your screenshot, tap Shift, Command, and 5 together, then click ‘Options’ and tick ‘Pointer’ under the “Show Mouse Pointer”.
VII. Comparison of Different Approaches
Now that you know the different approaches to taking screenshots, let’s compare the built-in Mac screenshot tool with third-party apps or tools.
Pros of Mac screenshot tool: It’s easy to use, comes pre-installed, and you don’t need to download anything to use it.
Cons of Mac screenshot tool: Limited editing options, limited file format options, can’t capture a scrolling window.
Pros of third-party apps or tools: Offers more editing options, can capture scrolling windows, and more file formats to choose from.
Cons of third-party apps or tools: Can be expensive, takes up storage space, and requires more time to learn.
Depending on your needs, you may find that one approach is better than the other.
VIII. Conclusion
Congratulations! You’re now an expert on how to take a screenshot on Mac using different approaches. To recap, we covered step-by-step tutorial approach, video tutorial approach, top tools or apps, tips and tricks approach, troubleshooting guide approach, and comparison approach. No matter your learning style or preferences, there’s an approach for you.
We encourage you to try each approach to determine which one works best for you. With these skills, you’ll be able to take perfect screenshots in no time.