Introduction
Most iPhone users have found it necessary to take screenshots at some point, whether to save a photo or keep an important message. With iPhone 11, taking a screenshot is easy and straightforward. In this guide, we will show you step-by-step how to take a screenshot on iPhone 11, compare its process with previous models, provide tips and tricks, and help you solve any common problems you may encounter.
Step-by-Step Guide
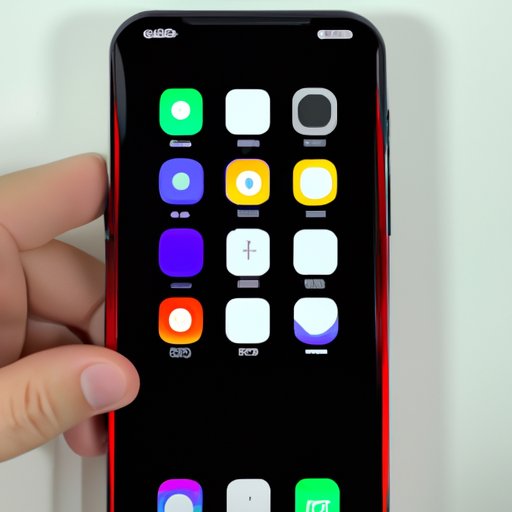
Here is a simple guide to taking screenshots on iPhone 11:
- Open the content you want to capture on the screen.
- Hold the Power Button on the right side of your iPhone 11.
- Immediately press the Volume Up button located just above the Power Button.
- Release both buttons at the same time.
- The screenshot will be taken, and you can find it in your Photos app under the Screenshots album.
It’s that simple. It may take some time to get used to the buttons’ placement, but it soon becomes natural. Additionally, you might hear the shutter sound when a screenshot is taken, which can also be muted under the Settings app > Sounds & Haptics > System Haptics > toggle the switch to mute the screenshot sound.
Video Tutorial
For those who prefer video guides, we have prepared a helpful video tutorial:
In the video, we demonstrate the same steps from the previous section while explaining the process and highlighting any important tips and tricks.
Comparison with Previous Models
iPhone 11’s process for taking screenshots is the same as iPhone X, iPhone XS, and iPhone XR. However, previous models used the Home Button instead of the Power Button. Here is a comparison between the two methods:
| Previous Models | iPhone 11 |
|---|---|
| Hold the Home Button + Side Button | Hold the Power Button + Volume Up Button |
Apple changed the button combination, keeping up with the transition of the Home Button to more gesture-based navigation that began with iPhone X.
Tips and Tricks
Here are some tips and tricks you can use while taking screenshots on iPhone 11:
- Edit your screenshots straight away: Apple has included a markup tool for screenshots, making it easy to edit on the spot by clicking on the thumbnail that appears in the lower-left corner of your screen after taking a screenshot.
- Use third-party apps: Apple’s Photos app does not allow for much editing. You can use third-party apps like Snapseed, Adobe Lightroom, and Skitch for more comprehensive editing options.
- Take long screenshots: Long screenshots can be useful, but iPhones limit screenshots by page. To take a long screenshot, you will need to use third-party apps such as Tailor.
- Use AssistiveTouch with Siri: Users who find it challenging to press the button combinations at the same time can use the virtual AssistiveTouch button and a Siri shortcut.
Common Problems and Solutions
Some common problems you may encounter while taking screenshots on iPhone 11 include:
- Volume Issues: Sometimes, the volume may be inadvertantly turned down while pressing the Volume-Up button. Make sure you adjust the volume back to an acceptable level.
- Screen Not Capturing: If your screen is not being captured, you can check if you are accidentally pressing the Volume down or Power off buttons. Alternatively, you can try resetting your iPhone by holding the Power and Volume Up buttons down for ten seconds.
- Noise: If the shutter noise is still audible when you switch the mute switch, you can try restarting your iPhone or checking for software updates.
FAQs
Here are some frequently asked questions and their answers:
-
Where are screenshots saved on iPhone 11?
Screenshots are saved in the Photos app under the Screenshots album.
-
How do I take a screenshot without any buttons?
You can use the AssistiveTouch feature by going to the Settings app > Accessibility > Touch > AssistiveTouch > Toggle the switch to on.
-
Why are my iPhone 11 screenshots blurry?
If your screenshots are blurry, you may have too many objects moving on your screen at the same time. Try to steady your movements and screen before capturing the screenshot.
Conclusion
Taking screenshots on iPhone 11 is easy and intuitive. This guide has shown you how to take screenshots, compared the process with previous models, provided tips and tricks, and helped you solve common problems. We hope this guide has been helpful, and we encourage you to share your thoughts and give us feedback on this article.
