I. Introduction
Scanning documents using a smartphone camera has become increasingly popular over the years. With the rise of remote work and staying connected while on the go, having the ability to scan documents from our phones has proven to be incredibly useful. The iPhone’s built-in camera app has the capabilities to scan documents, but many users find it challenging to produce quality scans.
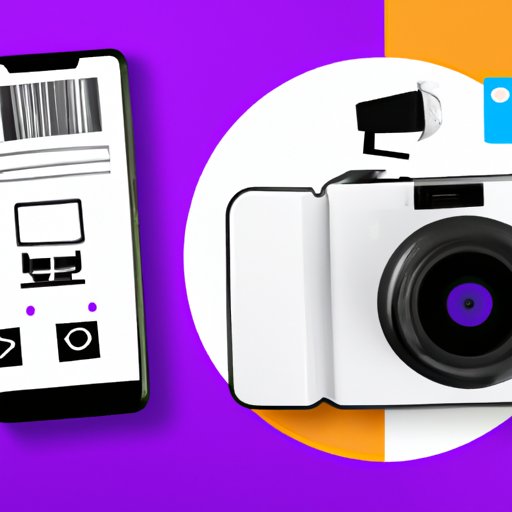
II. 5 Simple Steps to Scanning Documents Using Your iPhone
To begin, open the camera app on your iPhone. Make sure it’s set to photo mode and not video. Hold your phone above the document you want to scan and try to get as straight on with it as possible. Then, follow these five simple steps:
- Position your iPhone camera over the document.
- Wait for the yellow box to appear on the screen. This means the camera has found the document’s edges.
- Tap the yellow box to focus the camera.
- Wait for the camera to automatically adjust for lighting and color balance.
- Tap the shutter button to take the photo.
It’s that simple! Once you have taken the photo, you will be automatically taken to the editing screen, where you can crop and rotate the scan as needed. From there, you can share or save the scan as a PDF or JPEG file for later use.
III. Mastering the Art of Scanning on the Go: iPhone Scanning Tips and Tricks
While the basic steps for scanning documents on an iPhone are straightforward, there are some tips and tricks that can help users improve their scanning experience. Here are a few:
- Make sure the document is well-lit. Natural light is always the best option, but if that’s not possible, make sure there’s adequate lighting in the room. Avoid using the flash if possible, as it can create unwanted shadows or reflections.
- Position the document as flat and straight as possible. Using a flat surface or a document scanner app can help with this.
- Use the zoom feature to get a closer look at the document and ensure it’s in focus before taking the photo.
Additionally, there are several third-party scanning apps available that can help improve productivity. These apps often offer features such as batch scanning, cloud storage, and automatic image optimization. Some popular scanning apps include CamScanner, Evernote Scannable, and Adobe Scan.
IV. How to Quickly Scan and Share Documents from Your iPhone
Now that you’ve scanned your document, it’s time to save and share it. The iPhone offers several options for sharing scanned documents, including AirDrop, iCloud, and email. Here’s how:
- To use AirDrop, simply open your scan and tap the share button. Then, select the AirDrop icon and choose the device you want to send the scan to.
- To use iCloud, make sure you have iCloud set up on your iPhone and that you have enough storage space available. Then, open your scan and tap the share button. Choose “Save to Files” and save the scan in the iCloud Drive folder.
- To send the scan via email, open your scan and tap the share button. Choose the email icon and send the scan as an attachment.
By using these sharing features, you can quickly and easily share your scanned documents with others.
V. Scan, Save, and Share: Your Complete Guide to Using iPhone’s Scanning Features
The iPhone’s scanning capabilities go beyond the basic steps outlined above. The latest iPhone models offer even more advanced features, such as the ability to scan multiple pages into one document and the option to automatically crop and adjust scans. Here’s a breakdown of the different scanning features offered on each model:
- iPhone 12 Pro and 12 Pro Max – Lidar scanner for enhanced AR experiences and better depth detection for portrait mode photos
- iPhone 12, 12 Mini, and 12 Pro – Night mode for better low-light photography and improved Smart HDR
- iPhone 11, 11 Pro, and 11 Pro Max – Multiple lens options for improved zoom and portrait mode capabilities
- iPhone XR, XS, XS Max – Smart HDR and Advanced Bokeh for improved portrait mode photos
- iPhone X – Portrait mode feature for improved depth of field in photos
By understanding the scanning features offered on your iPhone model, you can make the most of its capabilities when scanning documents.
VI. Streamlining Your Workflow: Scanning Documents on iPhone Made Easy
Scanning documents on an iPhone can be part of a wider digital workflow, helping you save time and stay organized. Here are some practical tips for integrating iPhone scanning into your daily routine:
- Create a dedicated folder in iCloud Drive to store all your scanned documents.
- Use a third-party scanning app to scan multiple documents at once and save them as a single PDF file.
- Set up Siri shortcuts to quickly open the camera app and start scanning documents.
- Use apps like Dropbox or Google Drive to automatically sync scanned documents to your computer or other devices.
By using these tips, you can streamline your workflow and make iPhone scanning a seamless part of your daily routine.
VII. Conclusion
Scanning documents on an iPhone is easier than ever, thanks to the built-in camera app and advanced features on the latest models. By following these simple steps and incorporating some of the tips and tricks outlined in this guide, you can achieve high-quality scans and save time on tedious document tasks.