Introduction
Have you ever found yourself in a situation where you need to remove your sink stopper but don’t know how?
A sink stopper is a small mechanism used to keep water in a sink. It is an essential component of a sink, but there are situations when you may need to remove it. For example, if you’re cleaning the drain or replacing the stopper, you will need to know how to remove it properly without causing damage.
Step-by-Step Guide
Before we dive into the step-by-step guide, it’s important to gather the tools you will need. You will need pliers, a bucket, and a screwdriver. Once you have these items, you can proceed to remove the sink stopper.
To remove the sink stopper, you must follow these simple steps:
- Locate the sink stopper – The sink stopper is typically located inside the drain of the sink. Look underneath the sink for the lever that opens and closes the backflow stopper.
- Remove the stopper lever – Using a screwdriver, unscrew the lever that opens and closes the stopper. Set the screw aside.
- Loosen the pivot rod – Look for the pivot rod that connects the sink stopper to the drainpipe. Use pliers to loosen the pivot rod nut. You may have to wiggle it a bit to get it loose.
- Disconnect the pivot rod – Once the pivot rod nut is loose enough, you can gently wiggle it out of the sink drainpipe. Be careful not to drop the pivot rod down the drain.
- Remove the sink stopper – Gently pull up on the stopper. Be careful not to drop it down the drain.
It’s important to note that some stoppers may have different removal processes. For example, pop-up stoppers and twist-and-turn stoppers require a different approach.
For pop-up stoppers, you will need to follow these steps:
- Locate the stopper – The stopper is located on the sink drain. Look underneath the sink for the lever that activates the stopper.
- Remove the stopper lever – Unscrew the lever that activates the stopper. Set the screw aside.
- Remove the stopper – Gently lift the stopper to reveal the pivot rod. Follow the same steps as above to loosen and remove the pivot rod.
For twist-and-turn stoppers, you will need to follow these steps:
- Locate the stopper – The stopper is located on the sink drain. Look for a knob on the stopper.
- Remove the stopper knob – Turn the knob counterclockwise to remove it.
- Remove the stopper – Use pliers to grip the stopper and turn it counterclockwise to remove it.
Pictures and illustrations are extremely helpful when removing sink stoppers. Consult your manufacturer’s instructions for additional assistance or guides.
It’s also important to take precautions when removing sink stoppers. Ensure that the water and power are turned off before removing the stopper. Additionally, if you’re unsure or uncomfortable with the process, consult a professional plumber.
Video Guide
A video guide can be beneficial when removing sink stoppers. It provides a visual representation of the process and allows viewers to follow along at their own pace. When watching a video guide, look for different angles for each step to ensure you understand the process entirely.
When watching a video guide, also take precautions and ensure the water and power are turned off. Additionally, watch a few different videos to ensure you’re obtaining accurate information and guidance.
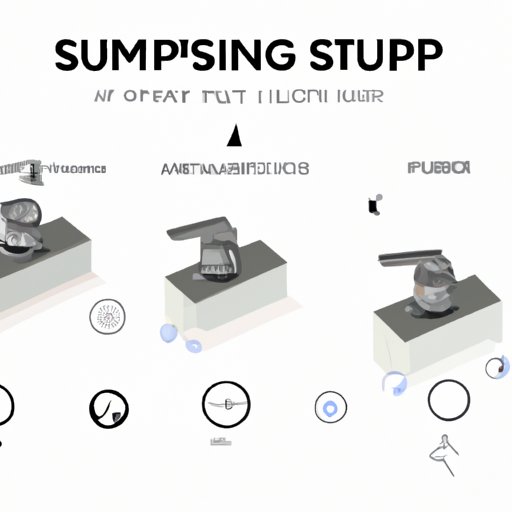
Infographics
Infographics are a helpful guide that outlines the step-by-step process of removing sink stoppers. With visuals and explanations, it provides assistance for readers who prefer a visual guide over text.
When creating or using infographics, ensure that it’s accurate and includes all the necessary steps and precautions. Additionally, review it multiple times before using it or relying on it as a guide.
Address Specific Stopper Types
It’s important to note that different sink stoppers have different designs and removal processes. Pop-up stoppers and twist-and-turn stoppers may require different steps than traditional stoppers.
Consult your manufacturer’s instructions and be sure to follow the correct removal process for your specific stopper type. Additionally, take note of any special precautions or warnings for your stopper type.
Common Issues when Removing a Stopper
Although removing a sink stopper may seem straightforward, there are common issues readers may face. For example, a stopper may be stuck, corroded, or difficult to access.
To solve these issues, readers can use lubricant to ease the stopper’s movement. Additionally, use pliers to unscrew the stopper and wiggle it out of place. If the stopper is corroded, readers may need to use a cleaning solution to remove any debris or buildup.
Reinstalling Stopper
After removing the sink stopper, readers must reinstall it. Follow these easy steps to reinstall the sink stopper:
- Place the stopper back in the sink drain. Ensure it’s positioned correctly.
- Thread the pivot rod back into the drain pipe and tighten the nut.
- Reattach the lever that opens and closes the stopper and tighten the screw.
It’s important to note that some stoppers may have different installation processes. Consult your manufacturer’s instructions or a professional plumber if you’re unsure.
Conclusion
Removing a sink stopper may seem like a daunting task, but with the proper tools and guidance, anyone can do it. It’s important to take precautions and follow the correct removal process for your specific stopper type. Remember to reinstall the stopper correctly to avoid any future issues or damage.
Knowing how to remove and reinstall a sink stopper is an essential skill that every homeowner should have. With the step-by-step guide, video guide, and infographics provided above, anyone can become a pro at removing a sink stopper.