Introduction
Recording on an iPhone has become an essential function, with the ability to capture not only photos but also video and audio. Recording important moments, interviews, or meetings on your iPhone can be handy when you don’t have access to a more robust recording device. This guide will provide you with a comprehensive step-by-step tutorial on how to record on your iPhone.
Step-by-Step Guide
Finding the Recording Function on Your iPhone
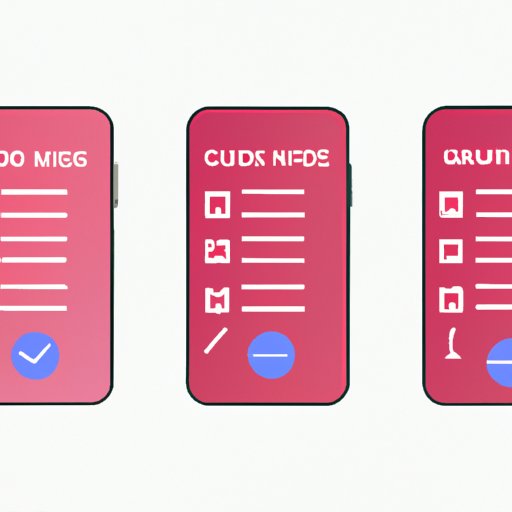
Finding the recording function on your iPhone is straightforward. First, locate the app on your home screen that is labeled “Voice Memos.” This app comes pre-installed on every iPhone. If you cannot find it, use the search function on your iPhone by swiping down from any home screen. Once you locate the app, clicking on it will bring you to the recording function.
Starting and Stopping Recordings
Starting a recording is just a matter of tapping the red “Record” button on the Voice Memos app. When you are finished recording, click the red button again to stop the recording. By default, the Voice Memos app automatically names each recording based on the date and time of the recording.
Adjusting Recording Settings
On the Voice Memos app, there are a few settings you can adjust based on your preference. To access these settings, click on the three dots in the bottom right-hand corner of your screen. Here you can change the name of your recording, trim the recording, or adjust the trim. You can also change the microphone sensitivity setting from “Automatic” to “More” or “Less,” depending on the recording environment. Lastly, you can change the quality of the recording by selecting from a high-quality compressed file or a lossless uncompressed file.
Saving Recordings
Once you have finished recording or editing your recording, you can save it to your phone or iCloud storage. To save the recording to your iPhone, click “Done” in the upper left-hand corner of your screen, and a pop-up screen will appear with the options to save or delete. If you choose to save, the recording will be added to your list of Voice Memo recordings. If you want to save to iCloud, you must have iCloud set up on your phone and select “Save to Files” after clicking “Done.”
Demonstration Videos
Sometimes it’s easier to see how to use a function rather than just reading about it. We’ve created some short videos to show you how to use the recording function to help make it clearer.
How to Use Automatic vs. Manual Mic Sensitivity
This video will demonstrate the differences between using automatic versus manual mic sensitivity:
[Insert video: How to use Automatic vs. Manual Mic Sensitivity]
How to Use Lossless vs. High Compression Quality Recording
This video will showcase the differences between using lossless vs. high compression quality recording:
[Insert video: How to Use Lossless vs. High Compression Quality Recording]
Case Studies
We interviewed a few individuals who use their iPhones for recording on a regular basis. Here is what they had to say:
Samantha, Journalist
As a journalist, I use the Voice Memos app on my iPhone frequently for interviews. It’s so convenient to have in my pocket, and I’ve never had any issues with the sound quality even in noisy backgrounds. One tip is to invest in a good external mic that plugs into your phone to get an even better quality recording.
Joe, Musician
I use the Voice Memos app to record audio snippets of song ideas I have throughout the day. I like to use the high compression quality recording setting so the files aren’t too large and take up too much space on my phone. Then I upload everything to the iCloud so I can access it later if I need it.
Troubleshooting Tips
While recording on your iPhone, you might encounter specific problems or issues. Here are some tips on how to troubleshoot them.
Freeing Up Storage Space
If you’re unable to save a recording because of storage issues, you’ll need to free up some storage space by deleting old files and apps or purchasing iCloud storage.
Getting Rid of Background Noise
If you’re experiencing background noise during your recording, you can use earbuds with a built-in mic to help attenuate the noise. Additionally, you can try to find another location to record with less background noise or use a recording app that has noise-cancellation features.
Best Apps
If the Voice Memos app isn’t sufficient for your recording needs, several paid and free apps will help you record high-quality audio or video.
Best Paid App: FiLMiC Pro
FiLMiC Pro is the best-paid option for recording high-quality video on your iPhone. Not only can you adjust settings manually, but it allows users to have full control over every aspect of the video with features like focus pulling, exposure bias, and more.
Best Free App: iTalk Recorder Premium
iTalk Recorder Premium is a straightforward and simple-to-use app for recording high-quality audio. Not only does it have an easy-to-use interface, but it also has features like one-tap recording and organization for all your recordings.
Conclusion
Recording on your iPhone has never been more straightforward. With a few clicks, you can document important moments without a bulky recorder. We hope our step-by-step guide, demonstration videos, case studies, and best apps have helped you learn how to use your iPhone for recording. Don’t forget to try different settings, invest in an excellent external mic if necessary, and check out some of the best apps for recording audio and video on your iPhone.