I. Introduction
Have you ever sent an email and then immediately regretted it? Or realized you attached the wrong file or sent it to the wrong recipient? These situations can be stressful, but luckily, Outlook has a feature that can help. Recalling an email means you can stop the recipient from receiving or reading the message, or correct any mistakes or errors made. In this article, we will provide a comprehensive guide with multiple approaches to help you recall your email in Outlook.
II. Step-by-step Guide
To recall an email in Outlook, follow these simple steps:
- Open Outlook and go to your Sent Items folder.
- Double-click on the email you want to recall to open it.
- Click on the “Actions” tab in the top menu bar.
- Select “Recall This Message” from the drop-down menu.
- Choose whether you want to delete the unread copies of the message or replace it with a new message.
- Select “OK”.
Note that the recipient must also be using Outlook and must not have read the email before it was recalled.
If you encounter any issues or limitations while trying to recall an email, Microsoft provides detailed information and troubleshooting tips on their support website.
III. Video Tutorial
If you prefer a more visual approach, check out this video tutorial on how to recall an email in Outlook:
The video provides step-by-step instructions with voice-over guidance to make the process even easier to follow.
IV. Listicle Approach
If you are looking for alternative methods to recall an email, consider using third-party tools or add-ins. Here are some options:
- Boomerang for Outlook: A popular and easy-to-use add-in that allows you to recall or schedule emails.
- Kutools for Outlook: A comprehensive add-in that includes a recall feature as well as many other productivity tools.
- Mail Resender for Outlook: A specialized tool that can resend or recall email messages automatically.
Each of these options offers unique features and functions to help you recall emails with ease. Consider trying them out to see which best suits your needs.
V. Personal Experience Approach
One personal experience that I had with recalling an email involved the accidental use of auto-fill in the recipient field. I had typed in a name that was similar to the intended recipient’s name, but ultimately ended up sending a sensitive email to the wrong person. I was able to recall the email in time using the step-by-step guide above, but the situation taught me to be more careful and double-check my recipient list before sending important emails. My advice to readers is to always double-check and verify your email recipients before sending anything sensitive.
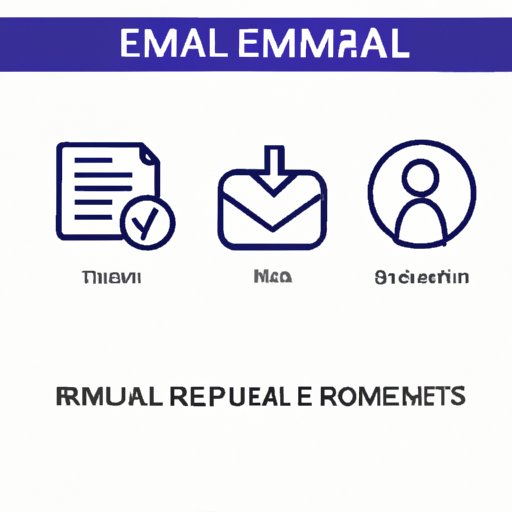
VI. Visual Approach
Here is an illustrated guide to the step-by-step process of recalling an email in Outlook:
:max_bytes(150000):strip_icc()/recalling-email-in-outlook-1173594-hero-01-c48cee5c74634107a6730e13c4d9d622.jpg)
Use this illustration to help you visualize the process and ensure accuracy.
VII. Comparison Approach
When it comes to recalling emails in Outlook, there are multiple methods to choose from. Here is a brief comparison of the pros and cons of each:
| Method | Pros | Cons |
| Outlook Recall Feature | – Built-in feature in Outlook – Free to use |
– Only works with recipients using Outlook – Must not have read the email already |
| Third-Party Add-Ins | – Customizable features – Can work with non-Outlook recipients |
– May require payment – May have limited functionality |
Based on this comparison, the Outlook Recall Feature is the best option if you are only sending emails to Outlook recipients. However, if you need to send emails to non-Outlook recipients or require more customizable features, third-party add-ins may be the better choice.
VIII. Conclusion
Recalling an email in Outlook can be a lifesaver when you need to correct an error or prevent a sensitive message from being read. Above, we’ve provided a multiple approach guide including step-by-step instructions, video tutorial, alternative methods, personal experience input, visual guide, and a comparison of the options available. If you’re trying to recall an email for the first time, don’t hesitate to use these resources. When choosing a method, consider your recipient list, the content of the email, and the level of customization you need. Most importantly, always double-check, and verify your recipients before sending any sensitive information!
Don’t forget to share your feedback or experience in the comments section or through social media.