Introduction
If you own a home, chances are you’ve had to deal with drywall damage at some point. Whether it’s a small hole from a picture frame or a larger patch from a plumbing repair, drywall damage can be unsightly and frustrating. Drywall is a common material used in homes due to its affordability and versatility. In this article, we’ll show you step-by-step how to patch drywall like a pro and provide tips and tricks for achieving a professional-looking finish.
Step-by-Step Guide to Patching Drywall Like a Pro
Before we dive in, let’s go over the tools and materials you’ll need for patching drywall:
– Joint compound
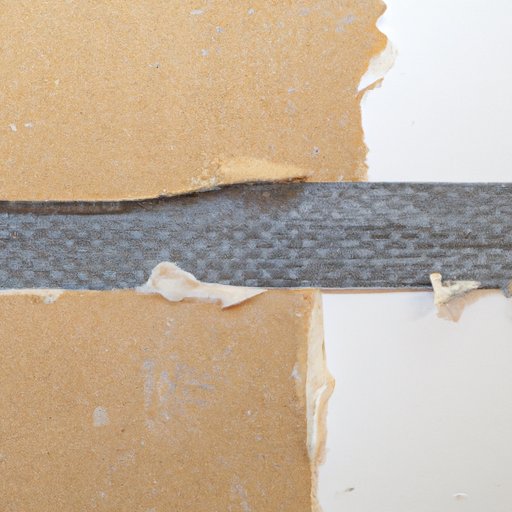
– Drywall tape
– A putty knife or trowel
– Sandpaper or a sanding sponge
– A utility knife
– A piece of drywall or a patch kit
– A drill and screws (if using a patch kit)
To patch drywall like a pro, follow these steps:
1. Prepare the damaged area by removing any loose or damaged drywall. Use a utility knife to cut a square or rectangular shape around the damaged area.
2. If using a patch kit, place the patch over the hole and secure it with screws. Be sure the patch is flush with the surrounding drywall.
3. Apply joint compound over the patch or damaged area using a putty knife or trowel. Be sure to cover the entire area with a thin layer of compound.
4. Allow the compound to dry completely, typically 24 hours.
5. Sand the patched area lightly with sandpaper or a sanding sponge until it is smooth.
6. Apply a second coat of joint compound, feathering the edges to blend with the surrounding drywall.
7. Allow the second coat to dry, then sand again until it is smooth.
DIY Home Repair: How to Patch Holes in Your Drywall
There are different types of holes that can occur in drywall. Small holes, such as those from nails or screws, can be easily patched with joint compound. Larger holes, such as those from plumbing repairs, require a patch.
To patch small holes:
1. Clean the area around the hole with a damp cloth or sponge.
2. Apply joint compound over the hole using a putty knife or trowel.
3. Allow the compound to dry completely, typically 24 hours.
4. Sand the patched area until it is smooth.
5. Apply a second coat of joint compound, feathering the edges to blend with the surrounding drywall.
6. Allow the second coat to dry, then sand again until it is smooth.
To patch large holes:
1. Cut a piece of drywall slightly larger than the hole.
2. Secure the patch to the existing drywall using drywall tape and joint compound.
3. Allow the compound to dry completely, typically 24 hours.
4. Sand the patched area until it is smooth.
5. Apply a second coat of joint compound, feathering the edges to blend with the surrounding drywall.
6. Allow the second coat to dry, then sand again until it is smooth.
The Ultimate Drywall Patching Tutorial: Tips and Tricks
Here are some additional tips and tricks for achieving a professional-looking drywall patch:
– Use a setting-type joint compound for patches larger than 4 inches. This type of compound hardens much faster than regular joint compound and is more durable.
– When sanding, use a sanding sponge to get into corners and tight spaces.
– Use a damp sponge to clean up excess joint compound on surrounding surfaces.
– When applying joint compound, use long, smooth strokes to spread the compound evenly.
– For a seamless finish, use a drywall texture roller or brush to match the texture of the surrounding drywall.
A Beginner’s Guide to Fixing Damaged Drywall
In addition to holes, drywall can also become damaged from everyday wear and tear. Here’s how to fix common types of damage using joint compound:
– Dents and scratches: Use a putty knife to fill the dent or scratch with joint compound, then sand the area until it is smooth.
– Cracks: Use a utility knife to widen the crack slightly, then fill it with joint compound and smooth with a putty knife.
– Nail pops: Use a hammer to drive the nail back in, then fill the hole with joint compound and sand the area until it is smooth.
After patching the damage, be sure to prime and paint the area to match the surrounding drywall.
Quick, Easy, and Affordable Drywall Patching Techniques
If you’re looking for quick and easy solutions for patching drywall, consider self-adhesive mesh tape or a patch and primer in one. Self-adhesive mesh tape is easy to apply and requires no joint compound. Simply apply the tape over the damaged area and paint over it. Patch and primer in one is a pre-mixed solution that can be applied directly to the damaged area and doesn’t require sanding.
It’s important to note that these alternative methods may not work for all types of damage and may not provide as seamless a finish as traditional patching methods.
Don’t Hire a Handyman: Learn How to Patch Drywall Yourself
Learning how to patch drywall yourself can save you time and money in home repairs. With the tips and techniques covered in this article, you can achieve a professional-looking finish without hiring a professional.
Remember to take your time and follow the steps carefully. With practice, you’ll be patching drywall like a pro in no time.
Conclusion
Patching drywall may seem intimidating, but with the right tools and techniques, it’s a DIY home repair that anyone can master. Whether you’re patching small holes or tackling larger repairs, following these steps and using the right materials can help you achieve a seamless finish that blends in with your existing drywall. Don’t be afraid to try new methods and experiment with different textures to achieve the look you want.
