I. Introduction
If you own a house or apartment, chances are you will encounter the need to repair drywall at some point. Whether it’s from a doorknob banging against the wall or an incorrectly hung picture, small and large holes in drywall are a common household issue. Learning how to patch a hole can save you money and time, as well as improve the appearance of your walls. This guide will walk you through the process of patching a hole in drywall, and offer tips on achieving a smooth, professional-looking finish.
II. Step-by-Step Guide to Patching a Hole in Drywall
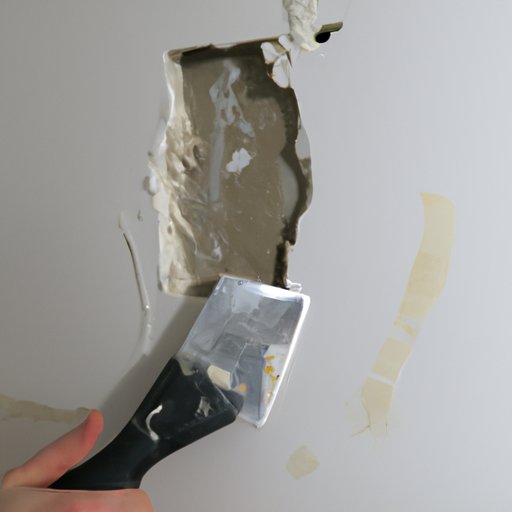
Before beginning the repair, be sure to have all necessary tools and materials on hand. First, prep the damaged area by cleaning it and removing any loose or damaged material. Then, use a putty knife to spread spackling paste or joint compound onto the hole, making sure to fill it completely. Allow this layer to dry, then repeat the process with two additional coats, each wider than the last to create a smooth surface. Once the area is completely dry, sand the entire surface until smooth and primed for painting.
III. 5 Tools You’ll Need to Patch a Hole in Drywall
To patch a hole in drywall, you’ll need the following tools:
- Drywall saw or drill with a drywall bit
- Putty knife
- Spackling paste or joint compound
- Sandpaper
- Primer and paint
It’s important to choose the right materials and equipment for the job, such as high-quality joint compound and a flexible putty knife for applying it smoothly.
IV. How to Patch a Small Hole in Drywall in Under 30 Minutes
For minor drywall damage, a quick fix can be achieved by using a self-adhesive mesh patch. First, clean and dry the area around the hole, then simply adhere the mesh over the hole. Apply a thin coat of joint compound over the mesh, and spread it out gently with a putty knife. Sand and paint over the area, and the hole is repaired in under 30 minutes.
V. Tips for Ensuring Your Drywall Repair Blends Seamlessly with the Surrounding Wall
To make the repaired area blend seamlessly with the rest of the wall, match the texture and color. If the wall has a specific texture, practice duplicating it with a small test area first. When painting, use a high-quality paint that matches the sheen and color of the surrounding walls. Apply thin coats and allow each layer to dry completely before reapplying additional coats.
VI. DIY Drywall Patching: Mistakes to Avoid
Common mistakes when patching drywall include over-sanding, which can cause further damage to the drywall, and applying too much joint compound, which can create a visible bulge. When using joint compound, apply thin and even layers. Another mistake to avoid is not allowing the area to dry completely before sanding or painting. Patience is key when patching drywall.
VII. How to Patch a Large Hole in Drywall Like a Pro
For larger holes, first cut off any damaged drywall, leaving a rectangular or square opening. Cut a piece of drywall slightly smaller than the hole, and attach it to the surrounding drywall with screws or joint compound. Apply joint compound over the entire patched area, allowing each layer to dry completely before adding the next. Sand and paint the area for a professional-looking finish.
VIII. Conclusion
Patching a hole in drywall is a DIY task that can be accomplished with the right tools, materials, and techniques. Follow these step-by-step instructions and tips to achieve a smooth and professional-looking repair. By being patient and careful, you can save money and time, and enjoy a wall that looks like new.