Introduction
If you’re looking to spruce up your outdoor space, laying pavers is a great way to create a functional and attractive surface. However, the prospect of taking on this project may seem daunting to many homeowners. Fortunately, with the right tools, materials, and preparation, this can be a manageable and rewarding DIY project. In this guide, we’ll walk you through everything you need to know about how to lay pavers, from site preparation and installation to maintenance and care.
Tools and Materials
Before you begin laying pavers, it’s important to ensure you have all the necessary tools and materials on hand. Here’s a list of what you’ll need:
- Pavers
- Gravel or sand
- Shovel
- Rake
- Level
- Tape measure
- Masonry saw or chisel
- Protective eyewear and gloves
- Joint sand or sealant
To make shopping easier, here’s a checklist of everything you’ll need to purchase before getting started on your paver project:
- Pavers
- Gravel or sand
- Joint sand or sealant
- Protective gear (eyewear and gloves)
Design and Planning
One of the most exciting aspects of laying pavers is designing and planning the layout of your space. There are a variety of materials and styles to choose from, including concrete, stone, and brick. Consider the existing design and landscaping of your outdoor space, and choose pavers that will complement and enhance the aesthetics of your home.
If you’re not sure where to start, consider drawing a sketch of your proposed design, or use an online landscaping tool to visualize different options. Additionally, consider aspects such as drainage, sun exposure, and foot traffic when planning your layout.
Site Preparation
Preparing the site is a crucial aspect of laying pavers. Start by measuring and marking the area, and calculating how many pavers you will need. When marking the area, ensure that you are accounting for any curving, angling, or cutting that may be required to fit the pavers together.
Next, begin excavating the area, removing any grass, debris, or existing pavers. Use a level to ensure the surface is even and grade the area so that it slopes slightly away from any buildings or structures to encourage proper drainage. Once the surface is level and graded, lay a layer of gravel or sand, making sure it’s evenly distributed and level.
Laying the Pavers
Once your site is prepped and ready, it’s time to begin laying the pavers. Start at one corner of the area and work your way across, ensuring that the pavers are spaced evenly and aligned with one another. For added accuracy, use string and stakes to guide the placement and spacing of the pavers.
It’s important to cut some pavers to fit in areas where a full paver will not work, such as along the edge of the site. Use a masonry saw or chisel to make these cuts, ensuring that each paver is cut to the correct size. As you lay each paver, use a level to ensure it’s even with the adjacent pavers.
Sand and Sealant
The final step in laying pavers is to add sand or sealant to the surface. This helps to fill any gaps between the pavers and keep them aligned with one another. To do this, sweep joint sand into the cracks and gaps between the pavers, making sure it’s evenly distributed and level. Alternately, apply sealer to the surface of the pavers, which will protect it from weather damage and erosion.
Troubleshooting
As with any DIY project, problems can arise during the process of laying pavers. Some common issues include uneven surfaces, drainage problems, and difficult cuts. To fix uneven surfaces, use a leveling agent like sand or gravel to raise or lower the plan, peeling away segments as needed. To fix drainage problems, observe where water accumulates and use low walls or troughs to guide water toward plants or drains. For difficult cuts, invest in a saw or rent one from a local home improvement store.
DIY vs. Professional Help
When deciding whether to tackle your paver installation project on your own or hire a professional, consider the scope of your project and your level of experience. For large or complex projects, seeking professional help may be a wise choice. However, for smaller, more manageable projects, DIY is a great option. Additionally, opting for DIY may save you money and give you a sense of satisfaction and accomplishment when the project is complete.
Maintenance and Care
Once your pavers are installed, it’s important to maintain and care for them over time. This includes cleaning the surface periodically, sealing it regularly, and repairing any damaged pavers. Use a power washer or hose to clean the surface, ensuring that it’s free of debris and dirt. Additionally, apply sealant to protect the pavers from weather damage and consider replacing any cracked or damaged pavers.
Inspiration and Ideas
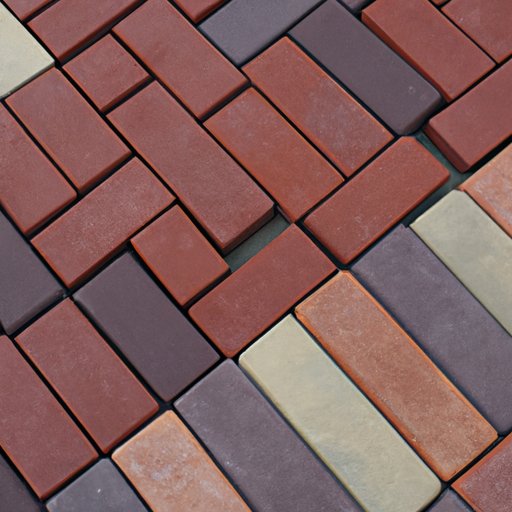
If you’re looking for inspiration for your paver installation project, there are a variety of design styles and patterns to choose from. Consider a herringbone pattern for a classic look, or a running bond pattern for a more modern feel. Additionally, consider integrating pavers into your existing landscaping design for a cohesive and attractive outdoor space.
Conclusion
Laying pavers may seem like a daunting task, but with the right tools, materials, and preparation, it can be a manageable and rewarding DIY project. From design and planning to installation and maintenance, this guide covered all the key aspects of the process, offering tips and troubleshooting strategies along the way. With a little bit of time and effort, you can transform your outdoor space into a functional and attractive area that you’ll enjoy for years to come.