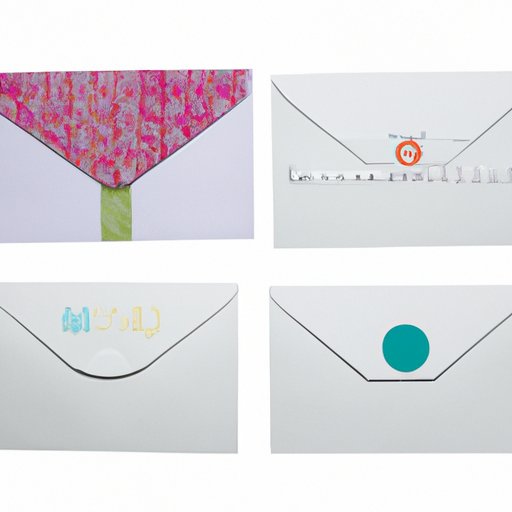
How to Fold an Envelope: Everything You Need to Know
Are you tired of buying envelopes for your letters and cards every time you need one? Learning how to fold your own envelope can solve that problem for you. Creating your own envelope can be not only economical but also fun and personalized. This article will guide you through how to fold standard, creative, and handwritten envelopes with pictures and video tutorials.
How to Fold a Standard Envelope
Folding a standard envelope is easy and requires only a sheet of paper and a pen or pencil. Here is a step-by-step guide:
- Start with a rectangular sheet of paper. A4 paper or letter-sized paper works well for this type of envelope.
- Place the paper horizontally on a flat surface.
- Fold the bottom of the paper up to the top edge. Crease the fold and unfold it to create a guideline.
- Take the left and right edges of the paper and fold them towards the center crease, with a small overlap in the middle. Crease the folds.
- Take the lower part of the paper and fold it upwards to create the bottom of the envelope. Press down the crease.
- Take the upper part of the paper and fold it downwards to create the top of the envelope. Crease the fold and tuck it into the bottom part of the envelope.
Finally, seal the envelope with glue or tape and you are done! Just like that, you have made your own envelope that can be used to send letters, invitations, or cards. Remember to consider the size of your paper before folding the envelope, to make sure it fits snuggly and does not come apart.
Video Tutorial
If you are a visual learner and would like to follow a more hands-on approach, a video tutorial can be a better choice for you. Check out the following video for a step-by-step tutorial on how to make your own envelope.
This video shows how to fold a standard, letter-sized envelope, with clear instructions and animation to make sure you don’t miss a step. Additionally, you can pause, rewind, or fast forward the video to help you follow along.
Creative Envelope Folding
If you want to elevate your envelope game and make them more interesting and visually appealing, creative envelope folding is for you. Origami is a fun and engaging way to turn plain envelopes into interesting shapes.
Here are a few easy-to-follow examples:
- The Boat: Take a square piece of paper, preferably a patterned one, and fold it according to the instructions shown in this video tutorial. The end result will look like a boat, and the bottom can be sealed to make an envelope.
- The Heart: Using a square piece of paper, fold it in half, then fold the two edges inwards to form a triangle. Unfold the edges, leaving only a crease line in the shape of a heart. Fold the bottom of the paper up to create an envelope.
- The Triangle: Using a rectangular piece of paper, fold it in half, corner to corner, and crease it. Open the paper, and fold the two corners on the same side to meet at the center crease. Next, fold the upper part of the paper down to create a triangle shape. Seal the bottom of the envelope.
Handwritten Envelopes
Handwriting your envelopes can add an elegant and personalized touch to your letters or cards. Here is a simple guide to help you create visually stunning envelopes:
- Choose a quality paper, such as stationary paper or fine art paper.
- Write the recipient’s address and your own address in a neat and stylish handwriting with a pen with good quality ink.
- Choose a seal or use your own personal brand to seal the envelope.
Handwritten envelopes show you have put in a personal touch in your correspondence and are perfect for occasion like weddings and formal events.
Different Types of Closures
After folding an envelope, you need to secure it to prevent the letter or card inside from falling out. There are several types of closures you can use:
- Gummed Flap: This type of closure is the most common and is used for business and regular envelopes. After folding the envelope, you can lick the gum on the flap and press the flap until it sticks.
- Peel-and-Stick: Peel-and-stick envelopes are convenient because they come with an adhesive backing on the flap that you can use to secure the envelope.
- Clasp: Clasp envelopes have a metal clasp on the flap that can be used to secure the envelope instead of adhesive. These types of envelopes are used when the contents inside may be too delicate to be held by an adhesive.
Familiarize yourself with the different types of closures to make sure you pick the right one for your envelopes.
Unusual Formats
Finally, you can opt for unusual envelope formats to make your letters stand out. Here are a few envelope formats you can try:
- A7 envelope: This is a popular and standard size envelope that can be used for invitations, greeting cards, and postcards.
- C7 envelope: This small envelope is used for holding gift cards or notes and is commonly used in the UK and Europe.
- CD envelope: CD envelopes are designed specifically for CDs and come with a pouch to insert the CD. These are perfect for sending CDs or DVDs.
Try out different formats and sizes to determine the best fit for your letters and cards.
Conclusion
Folding your own envelope can be an engaging and personalized way to send letters and cards. We have covered the process of how to fold standard envelopes, creative envelopes, and handwritten envelopes, as well as tips on different types of closures and formats. It can be fun to experiment with different styles, sizes, and formats to create something unique each time.
