I. Introduction
Paper airplanes are a classic pastime enjoyed by kids and adults alike. There is something thrilling about folding a piece of paper, launching it into the air, and watching it soar. For those looking to improve their paper airplane skills, this article offers a comprehensive guide to folding a paper airplane. With step-by-step instructions, a video tutorial, and tips for success, readers will be on their way to crafting aerodynamic masterpieces in no time.
II. Step-by-Step Guide
The first step in mastering the art of paper airplane folding is to start with a basic design. The classic dart design is an excellent place to begin. Follow these instructions to make your own:
- Take a piece of paper and fold it in half lengthwise.
- Open the paper back up and fold each of the top corners down to the center crease created in step 1, forming a triangular shape at the top of the paper.
- Take the top point of the triangle created in step 2 and fold it down to the bottom edge of the paper, creating a new crease.
- Repeat the previous step, taking the top point of the newly created triangle and folding it down once again to create a second crease.
- Turn the paper over and fold along the center crease, bringing the top edge down to the bottom edge.
- Take the wings at the bottom of the plane and fold them up at a slight angle to create lift.
- The basic dart design is complete.
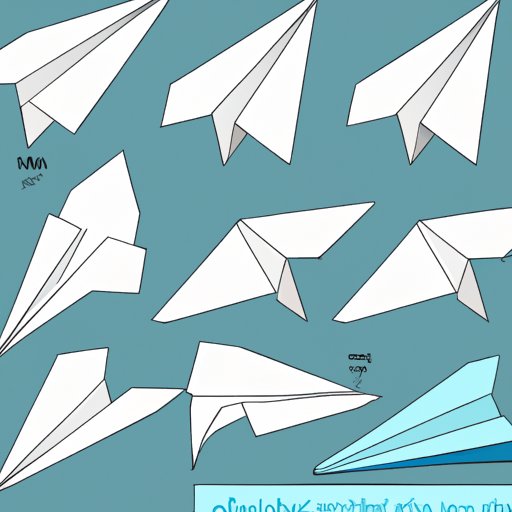
Illustrations of each step are included below:
[INSERT ILLUSTRATIONS OF EACH STEP]
III. Video Tutorial
For those who prefer a more visual learning experience, a video tutorial is an excellent resource. Below is an embedded video tutorial demonstrating the folding process:
[INSERT EMBEDDED VIDEO TUTORIAL]
For those who prefer to use the written guide alongside the video tutorial, we recommend pausing the video at each step and then following along with the corresponding instructions. This can be helpful in retaining the information and repeating the folding process multiple times until perfect.
IV. Variations
Part of the fun of paper airplane folding is experimenting with different paper types, sizes, and modifications to change a plane’s flight characteristics. Here are a few ideas to get started:
- Experiment with different paper types:
- Heavier paper or cardstock can provide added weight, allowing for better flight stability.
- Thinner paper can increase the distance a paper airplane can travel.
- Add fins and flaps:
- Fins can help a paper airplane to fly straighter and prevent it from veering off course.
- Flaps can provide added lift and change the way a paper airplane flies through the air.
- Create more complex designs:
- Some paper airplanes are designed to perform stunts or tricks in addition to flying long distances. Experiment with designs that include loops, flips, and other acrobatics.
V. Folding Tips
Even the most skilled paper airplane expert can benefit from a few tips and tricks. Here are a few to consider:
- Prepare the paper:
- Make sure the paper is clean and free of any folds or creases before beginning.
- Use a ruler or straight edge to ensure straight, precise folds.
- Keep folds clean:
- Run a fingernail or credit card along each fold to create a clean crease.
- Use a sharp scissor or blade to cut off any excess paper.
- Adjust wing angles:
- Move the wings up or down to adjust the plane’s flight path.
- Bend the wings slightly upward to create lift.
VI. Historical Context
Paper airplanes have been enjoyed by people for centuries. The earliest paper airplanes can be traced back to ancient China and Japan. By the 19th century, paper airplanes had become a popular way for children to pass the time. Today, paper airplanes are enjoyed all around the world and even hold a special place in some cultures. In Japan, for example, paper airplanes are associated with the Samurai warrior class and symbolize courage and strength. Notable achievements in the world of paper airplanes include the Guinness World Record for longest time aloft, which stands at 29.2 seconds.
VII. Interactive Tutorial
For those who want to practice their folding skills, an interactive tutorial can be a helpful supplement to the written guide. Follow the link below to access a downloadable template for folding a classic dart paper airplane:
[INSERT LINK]
Print out the template and follow the on-screen instructions to fold along with the tutorial. This can be a helpful way to reinforce what you have learned and test out new modifications to basic designs.
VIII. Themed Airplanes
For those who want to take their paper airplane skills to the next level, themed designs are a fun place to start. Here are a few suggestions:
- Space-themed designs:
- Create a design inspired by your favorite sci-fi movies.
- Add fins to create a rocket shape.
- Animal-inspired designs:
- Create a bird or butterfly design.
- Add flaps to create wings that flap as the plane flies.
IX. Conclusion
Folding a paper airplane is a simple pleasure that offers endless possibilities for creativity and fun. With this comprehensive guide, readers are equipped with the tools and knowledge necessary to fold a basic dart paper airplane and much more. Whether a beginner or a seasoned pro, there is always room for experimentation and improvement. So grab a piece of paper, start folding, and let your creativity take flight!
For further resources on paper airplane folding, check out books of patterns and online communities devoted to this classic pastime.