I. Introduction
Ombre nails, also known as gradient nails, are a popular trend that involves selecting two or more colors that blend seamlessly from one nail to the next. It creates a stylish and sophisticated look that can elevate your outfits. In this article, we will provide you a step-by-step tutorial with tips and tricks to create perfect ombre nails at home.
II. Step-by-step tutorial
Firstly, start with clean nails – it is important to remove any old nail polish and moisturize your hands and nails. Once your nails are cleaned, trimmed, and shaped, you can begin the following steps.
Gather your necessary supplies:
- Base coat
- 2-3 nail polish colors
- Makeup sponge
- Top coat
Now follow the steps below:
- Apply base coat to your nails and let it dry for a minute or two.
- Apply the first coat of your nail polish and let it dry for two minutes before applying the next color.
- Apply your second color to the makeup sponge. Gently dab it onto the top of your nails, blending with the first color where they meet to achieve the gradient or ombre effect you prefer. Repeat this with third color if you wish.
- Using a clean makeup brush, sponge, or a q-tip – blend the colors together in the middle for a seamless look.
- Let your nails fully dry for 10-20 minutes.
- To seal your nails and add shine, apply top coat over the colors. Let everything dry completely before doing anything else with your hands.
III. Video Tutorial
If you’re still having difficulties understanding the tutorial, or have never tried ombre nails before, check out this short, but helpful video tutorial.
IV. Tips and Tricks
The Ombre technique is all about blending. Here are some tips and tricks to help you achieve the perfect Ombre:
- Blending Technique: Using a sponge or brush to blend the colors on your nails gives a softer and natural look. For more precise and neat blending, use a q-tip or a small clean brush to help blend in the color where the two shades meet.
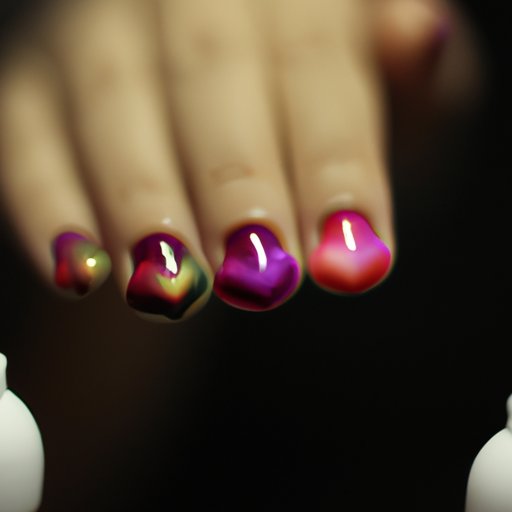
- Color Selection: You can choose two colors that are similar or two colors that contrast. Keeping it in the same color family but with different tones is another good way to go. Some of the best color combinations for Ombre nails include pink and purple, blue and green, and red and pink.
- Application Advice: While applying the nail polish, it is essential to make sure that you have the same amount of polish on your brush each time. Start from the bottom of your nail to build the gradient upward.
V. Quick and Easy Ombre
For a quick and easy gradient look on your nails, use a sponge or brush to apply the colors to the tips of your nails. You can add glitter, stickers or nail decals to give it an extra look. This saves time, effort, and is perfect for beginners who want to experiment with Ombre nails.
VI. Bold and Bright Ombre
To achieve a bold and bright Ombre look, choose neon shades or experiment with metallics. You can use them as a base color or top them with glitter polish. For a statement-making look, you can keep the darker color at the bottom of the nail and build up a light shade on the top of your nail.
VII. Reverse Ombre
Reverse Ombre, also known as inverted Ombre, is perfect for those who are a fan of the darker shades at the base of their nails. Keep the darker shade near your nails’ tips and gradually blend in the lighter shade towards the cuticle.
VIII. Ombre Nail Art
For an added twist on Ombre nails, you can experiment with nail art. Combining Ombre with nail art brings a fun, playful look to your nails. Try stripes, polka dots, stencils, geometric shapes, and other nail art designs and patterns to bring out the Ombre effect on your nails.
IX. Conclusion
Ombre nails can quickly elevate your look and elevate your fashion game. Whether it’s for a formal event or a casual day out with friends, they are suitable for every occasion. This step-by-step tutorial along with the tips and tricks mentioned above will help you achieve the perfect gradient nails. Remember to be patient and keep experimenting with different polish colors and designs.