Introduction
For many virtual reality (VR) enthusiasts, connecting their Oculus Quest 2 to a TV can be a daunting task. While there are several methods to connect the headset, it can be overwhelming to choose the right one. In this guide, we will explore the different ways to connect Oculus Quest 2 to TV, including step-by-step instructions, comparisons, troubleshooting, casting, wireless streaming, using a USB-C cable, and third-party adapters.
Section 1: Step-by-Step Guide
To start, let’s review a step-by-step guide for connecting your Oculus Quest 2 to the TV:
- First, ensure that your TV has an HDMI port.
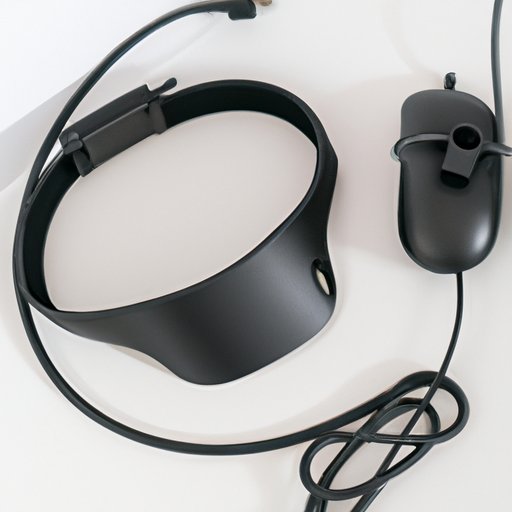
- Use a compatible USB-C cable to connect your Oculus Quest 2 to your computer.
- Turn on your Quest 2 headset and put it on your head so you can see the “home” menu.
- From the “home” menu, click on the “share” button located on the bottom toolbar.
- Select “cast” and follow the prompts to connect your headset to the TV.
Section 2: Comparison
There are various methods available to connect Oculus Quest 2 to the TV, each with its advantages and disadvantages. Here’s a comparison of the various methods:
- HDMI Cable: Connecting Oculus Quest 2 directly to the TV using HDMI cable is straightforward. However, it results in a lower frame rate and resolution.
- Casting: Casting Oculus Quest 2 to TV via Chromecast is an easier and cost-effective method. However, it can result in low latency and a slight loss in quality.
- Wireless streaming: Wireless streaming allows you to stream Oculus Quest 2 to TV without any cables. However, the quality and performance may vary depending on the network speed and strength.
- USB-C: Using a USB-C cable to connect the headset to the TV is straightforward. However, this method has the lowest quality and resolution compared to other methods.
- Third-Party Adapters: Third-party adapters can offer additional features and flexibility. However, they can be challenging to set up, and not all of them may be compatible with your TV.
Section 3: Troubleshooting
If you encounter any issues while connecting Oculus Quest 2 to TV, here are a few troubleshooting solutions:
- Make sure your TV is turned on and has an HDMI port.
- Ensure your Chromecast and Oculus Quest 2 are on the same network.
- Restart your Chromecast or restart your headset if casting is not working.
Section 4: Using Casting
Casting Oculus Quest 2 to TV is an easy and effective method that doesn’t require any cables. Here’s how to use casting:
- Ensure that your Quest 2 and Chromecast devices are on the same Wi-Fi network.
- On your Quest 2 headset, open the “share” menu and select “cast.”
- Select your Chromecast device to cast to your TV.
- Your Quest 2 screen is now mirrored on the TV.
Alternative casting devices include Apple TV, Roku, and Fire TV Stick.
Section 5: Wireless Streaming
Wireless streaming is a convenient method to connect your Oculus Quest 2 to TV without any cables. Here’s what you need to get started:
- A compatible Wi-Fi router: You need a Wi-Fi router with a strong signal to achieve optimal performance.
- A receiver device: There are several receiver devices available in the market, including Steam Link, Virtual Desktop, and ALVR.
- A computer: You need a computer or laptop to install and run the receiver software.
- Compatible software: You also need to install software such as Steam and Oculus software to run the receiver software.
The benefits of using wireless streaming are high resolution and quality, no cables, and a chance to play PC VR games on your Quest 2.
Section 6: Using a USB-C Cable
Using a USB-C cable is one of the easiest ways to connect your Oculus Quest 2 to the TV. Here’s what you need to do:
- Plug the USB-C cable into your Quest 2 headset on one end and the HDMI port of your TV on the other end.
- The TV screen should now display the Oculus Quest 2 home screen.
Section 7: Third-Party Adapters
Third-party adapters offer additional flexibility and features, but the setup can be challenging. Here are a few things to keep in mind when considering third-party adapters:
- VirtualLink Adapter: It allows you to connect your Oculus Quest 2 to a PC and an HDMI port simultaneously. It provides high-quality and low latency. However, it is expensive.
- Anker USB-C to HDMI Adapter: It is a cost-effective adapter that provides video and audio transmission. However, it is not compatible with all TVs.
- Display Port Adapter: It allows you to connect your Quest 2 to a display port. It is fast and has a high resolution. However, it is limited to a few TVs and not widely available.
Conclusion
Connecting Oculus Quest 2 to TV has never been easier. There are various methods available, including HDMI cable, casting, wireless streaming, using a USB-C cable, and third-party adapters. Each method has its advantages and disadvantages. Casting and wireless streaming offer flexibility and high-quality, while using USB-C cable and third-party adapters provide a straightforward and cost-effective option.