I. Introduction
Do you want to learn how to take a screenshot on your iPhone but don’t know how? Look no further than this comprehensive guide. Screenshotting is a vital feature for every iPhone user, whether you need to capture a funny text message, save an important note, or take a picture of something on your screen. In this article, we will cover everything you need to know about the screenshotting process on your iPhone, including how to take a screenshot, tips and tricks for getting the perfect shot, and how to edit and share your screenshots with others.
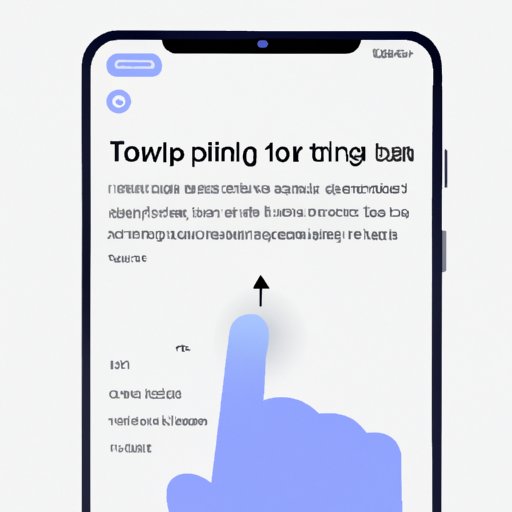
II. Step-by-Step Guide: How To Take A Screenshot On Your iPhone In Seconds
Before we dive into the step-by-step guide, let’s first explain what a screenshot is and when you might need to take one. A screenshot is a picture of whatever is currently on your iPhone screen, including apps, websites, and text messages. You might need to take a screenshot if you want to save a funny meme or picture, remember an important phone number, or show someone how to navigate to a certain location in an app.
Now, for the step-by-step guide:
- Locate the buttons you need to press: the “Home” button on the bottom of the screen and the “Power” or “Sleep/Wake” button on the top or side of the iPhone, depending on your model.
- Choose the screen you want to capture.
- Press both buttons simultaneously. You should see a white flash and hear a camera shutter sound.
- Check the bottom of your screen to see the screenshot appear. You can also find screenshots in the “Photos” app in a separate album called “Screenshots.”
III. Easy As A Pie: Capture Your iPhone Screen With These Simple Steps
If those steps seem a little complex, don’t worry – taking a screenshot is actually quite easy. Here is a simplified version of the process:
- Press the “Home” and “Power” or “Sleep/Wake” buttons at the same time.
- The screen will flash, and you will hear a camera sound.
- Find your screenshot in the “Photos” app under the “Screenshots” album.
Remembering these simple steps can help you quickly take a screenshot whenever you need one. If you want to be even faster, try combining the buttons into one movement by pressing the “Power/Sleep/Wake” button first and then pressing the “Home” button immediately afterward.
IV. From iPhone 6 To XR: Screenshotting Process On Every iPhone Model
While the basic process is the same for every iPhone, there can be slight differences between models. Here is an overview of how to take a screenshot on different iPhone models:
- iPhone 6 or earlier: Press the “Home” button and the “Power” button at the same time.
- iPhone 7 or 7 Plus: Press the “Power” button and the “Volume Down” button at the same time.
- iPhone 8 or 8 Plus: Press the “Volume Up” button and the “Power” button at the same time.
- iPhone X, XR, XS, or XS Max: Press the “Side” button and the “Volume Up” button at the same time.
By knowing which buttons to press on your particular iPhone model, you can take a screenshot even faster and more efficiently.
V. Mastering The Art Of iPhone Screenshotting: Tips & Tricks To Get The Perfect Shot
Taking a basic screenshot is easy, but taking a great screenshot takes a little more skill. Here are some tips for getting the perfect shot:
- Use both hands to prevent shaking and keep your iPhone steady.
- Angle your iPhone screen to maximize the visibility of what you want to capture.
- If necessary, edit your screenshot afterwards using the iPhone’s built-in editing tools.
- Try using screenshots in creative ways, such as creating custom backgrounds or sharing app wins with friends.
By following these tips, you can use screenshots to improve your iPhone experience and show off your skills to others.
VI. Sharing Is Caring: How To Take, Edit, And Share Screenshots On Your iPhone
Once you have your perfect screenshot, you might want to edit it or share it with others. Here’s how to do that on your iPhone:
- To edit a screenshot: Open the screenshot in your “Photos” app and select “Edit.” Here, you can crop, add filters, or draw on your screenshot.
- To share a screenshot: Open the screenshot in your “Photos” app and select the “share” icon at the bottom left-hand corner of the screen. You can choose to send the screenshot through text, email, or social media, among other options.
- To save a screenshot: Screenshots are automatically saved to your “Photos” app in a separate album called “Screenshots.” You can access them at any time.
By editing and sharing screenshots, you can show off your individuality and share important information with others.
VII. Conclusion
Taking a screenshot might seem like a small task, but it can be incredibly helpful for a variety of reasons. By following this guide, you can learn how to take a screenshot on your iPhone quickly and efficiently, no matter what model you have. Additionally, tips and tricks for getting the perfect shot and editing and sharing your screenshots can enhance your iPhone experience and make sharing information with others easier than ever.