I. Introduction
If you’re using a Chromebook, you may need to take a screenshot for various reasons. Whether you want to capture a funny meme, a critical email, or an important project, taking screenshots is an essential feature for any computer user. This article aims to provide you with a comprehensive guide on how to take screenshots on a Chromebook. We’ll cover everything you need to know, from taking full-screen captures to recording videos, editing screenshots, and troubleshooting common issues.
II. Step-by-Step Guide for Taking Screenshots on a Chromebook
Chromebooks provide multiple options for taking screenshots. Here’s a step-by-step guide on how to take screenshots:
Using Keyboard Shortcuts
Chromebook offers two keyboard shortcuts for taking screenshots. Pressing the “Ctrl + ” button captures the whole screen. On the other hand, the combination of “Shift + Ctrl + ” takes the capture of a particular section of a page.
To use the keyboard shortcut to take a full-screen shot:
- Press the “Ctrl” and “Switch Window” keys simultaneously.
- Your screen will flash, indicating that you’ve successfully taken a screenshot.
- The screenshot will be saved to your downloads folder.
To use the keyboard shortcut to take a partial screenshot:
- Press the “Shift + Ctrl +” keys simultaneously.
- Your screen will darken and show a crosshair cursor.
- Drag the cursor over the area you want to capture.
- Once done, release the mouse button and the screenshot will be automatically saved.
Using the On-Screen Controls
If you don’t want to use the keyboard shortcuts, Chromebook also provides an on-screen capture tool. Follow these steps:
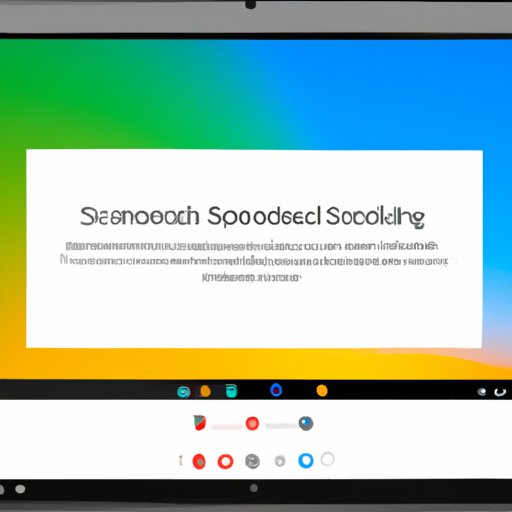
- Click on the Capture icon (rectangle with a plus sign) located on the Chrome OS taskbar.
- Select either Fullscreen or Region.
- Click on the “Save” button to capture and save the screenshot to your “Downloads” folder.
Troubleshooting Tips
If you encounter any of the following issues, try these tips to clear up the problem:
- If your Chromebook keyboard isn’t working, try taking screenshots using the built-in tools.
- If the image quality is consistently poor, try increasing your screen resolution or adjusting the brightness and contrast settings.
- In case the screenshots aren’t saving automatically, manually save them.
III. Keyboard Shortcuts for Taking Different Types of Screenshots
Here are the different keyboard shortcuts for taking different types of screenshots on a Chromebook:
- Full-screen shot: “Ctrl + ”
- Partial screenshot: “Shift + Ctrl +”
- Stylus-based screenshot: Press the stylus button and tap the screen once to take a full-screen shot.
IV. Recording GIFs or Videos of a Chromebook Screen
Chromebooks don’t come with a built-in tool for recording videos, but you can use third-party apps. Here are some recommendations and the basic procedures:
Loom
Loom is a free video and screen recorder that you can use to create videos of your Chromebook’s screen. To use Loom, follow these steps:
- Go to Chrome Web Store and search for Loom.
- Click on “Add to Chrome” and install the extension.
- Click on the Loom icon in your menu bar to begin recording your video.
Screencastify
Screencastify is another free screen recorder that can be added to your Chrome browser. To use it:
- Search for Screencastify in the Chrome Web Store.
- Click on “Add to Chrome” and install the extension.
- Click on the Screencastify icon in your menu bar to begin recording your video.
V. Editing Screenshots on a Chromebook
Chrome OS offers simple photo editing tools, such as cropping and resizing. If you want more advanced editing features, you can use third-party apps.
Built-in Editor
To use the built-in editor on your Chromebook:
- Click on the file app and open the “Downloads” folder.
- Open the image file you want to edit.
- Click on the “edit” button (pencil icon) located on top of the screen to access the editor.
- Use the options available to edit your image.
- Click done to save the changes.
Third-Party Editors
If you prefer to use third-party photo editing tools, some options are available to you:
- Adobe Photoshop Express Editor
- Fotor
- Canva
VI. Sharing Screenshots with Others
To share screenshots on a Chromebook, you can use email, social media, or Google Drive.
Sharing via Email
- Click on the Launcher button and open the “Gmail” app.
- Compose a new email.
- Select the paperclip icon beside the Send button.
- Select the screenshot image you want to insert.
- Send the email.
Sharing via Google Drive
- Open Google Drive.
- Click on the “+ New” button and select “File upload.”
- Select the screenshot image you want to upload.
- Once done, locate the screenshot and share its public link or by email.
VII. Troubleshooting Common Issues
Some common issues when taking screenshots on a Chromebook include:
- Screenshots not saving automatically.
- Low-quality images.
- Erroneous captures.
If you encounter any of these issues, try restarting your Chromebook or adjust the display settings.
VIII. Comparing and Contrasting with Other Devices
Chromebooks may differ from Windows and Mac computers in how they take screenshots. For example, Windows relies heavily on third-party tools to record GIFs or videos of screen activities. Macs, on the other hand, have a well-designed built-in tool for editing screenshots. Regardless, Chromebook users can still enjoy unique features for creating and editing screenshots.
IX. Conclusion
Taking screenshots on a Chromebook is a straightforward process that opens up many possibilities in content creation and management. Whether you’re capturing a full-page screenshot or editing an image, this article has provided you with all the essential tips and tricks you need to know. So try them out and let us know what works best for you! Share your experience or tips in the comments section below.
