Introduction
Knowing how to change a tire is a basic skill that every driver should have. Whether you get a flat tire on your daily commute or during a road trip, being able to change a tire can save you time, money, and potential danger. In this article, we provide a comprehensive guide with step-by-step instructions, visuals, frequently asked questions, and even unique tips for handling difficult tire-changing scenarios.
Step-by-Step Guide
Preparation stage: Gathering necessary tools and equipment
Before you begin changing your tire, make sure you have all the necessary tools and equipment. Your vehicle should come with a spare tire, a lug wrench, and a jack. Additionally, you will need a flashlight, gloves, and a wheel chock or brick to prevent the car from rolling.
Step 1: Safely pulling over and finding a level surface
If you notice that your tire is flat or damaged while driving, don’t panic. Slowly reduce your speed and turn on your hazard lights to signal other drivers that you are having an issue. Find a safe and level spot to park your car. Avoid sloped areas or soft ground that could cause the car to tip or the jack to sink.
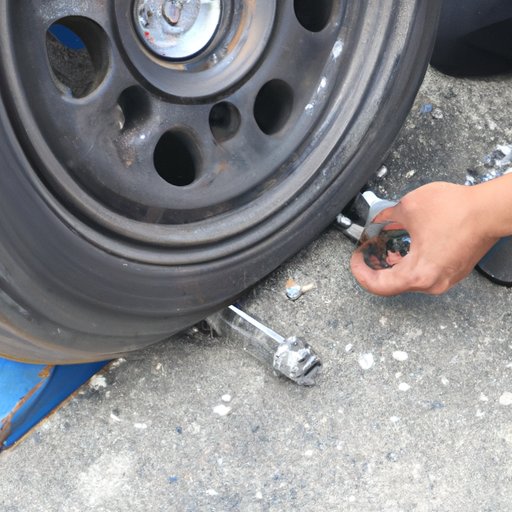
Step 2: Loosening lug nuts
Using your lug wrench, loosen the lug nuts on the flat tire. Do not remove them completely yet, but simply loosen them about a half-turn counterclockwise. This can be a bit difficult, especially if the lug nuts are rusted or overtightened. If necessary, use your foot to apply pressure to the wrench for extra leverage.
Step 3: Jacking up the car
Find the appropriate jack point on your vehicle. This information is usually located in your car’s owner’s manual. Position the jack under the car and crank it up until it is securely in place. Double-check that the jack is centered and level, and that the wheel chock or brick is in place. Raise the jack slowly and steadily until the flat tire is about 6 inches off the ground.
Step 4: Removing the flat tire
Now it’s time to remove the lug nuts completely and take off the flat tire. Remove the tire from the wheel well carefully and place it flat on the ground near you. Be careful not to damage the threads on the wheel studs.
Step 5: Mounting the spare tire
Get your spare tire and position it over the wheel studs. Align the rim of the spare tire with the studs and push gently until the wheel fits flush against the hub. If you have trouble lining up the holes, try loosening and tightening the lug nuts slightly while applying pressure to the tire.
Step 6: Tightening lug nuts
You are almost finished. Using your lug wrench, tighten the lug nuts by turning them clockwise until they are snug. Do not use too much force at once or cross-thread the nuts. Once the nuts are snug, use a star pattern to gradually tighten them to the manufacturer’s recommended torque specification. This will typically be around 80 to 100 foot-pounds.
Step 7: Lowering the car
Lower the car slowly and carefully until the spare tire has full contact with the ground. Remove the jack and put it back in your trunk. Tighten the lug nuts one more time, and then secure the flat tire in the trunk or back of the car. You can now drive your car to a mechanic or tire shop to have the flat tire repaired or replaced.
Visual Guide
While the step-by-step guide above offers detailed instructions, it can be helpful to have some visual aids as well. Seeing the process unfold can make it easier to understand and follow. There are many YouTube tutorials and online guides that demonstrate how to change a tire, but be sure to check the credibility of the source before relying on the information. Additionally, some car manufacturers offer how-to videos on their websites or social media channels. Don’t overlook the owner’s manual, which often contains illustrations or photos of the tire-changing process specific to your make and model.
Frequently Asked Questions
Q. Is changing a tire difficult?
Changing a tire is not overly difficult, but it does require some basic knowledge and physical effort. By practicing the steps in a safe and controlled environment before you end up with a flat tire, you can build confidence and skill.
Q. How long does it take to change a tire?
The time it takes to change a tire can vary depending on your experience level, the condition of your car and tire, and other factors such as weather or traffic. It may take anywhere from 20 minutes to an hour to change a tire.
Q. Can I drive on a spare tire for a long period of time?
A spare tire is meant to be a temporary solution until you can repair or replace your flat tire. While it’s okay to drive on a spare tire for a short distance or a limited amount of time, it is not designed for long-term use. Most spare tires have a speed limit of 50 mph.
Q. Is it safe to change a tire on the side of the road?
Changing a tire on the side of the road can be dangerous, especially during rush hour or on busy highways. If possible, move your car to a safer location such as a parking lot or rest stop. Always wear reflective clothing and use your hazard lights to signal other drivers.
Unique Angle
What if you encounter challenging weather conditions while changing a tire? For example, what if it’s raining or snowing heavily? In these cases, it may be smart to have a tarp or poncho handy to protect yourself and your belongings from getting wet. Another tip is to keep a small towel or rag in your car to dry the lug nuts and wheel studs before placing the spare tire on. Additionally, if you have a child or pet in the car with you, be sure to have them safely secured while you change the tire.
Comparison and Review
There are different types of jacks that can be used to lift your car off the ground, including scissor jacks and hydraulic jacks. Scissor jacks are the most common type that comes with your vehicle, but they can be slow and less stable than hydraulic jacks. Hydraulic jacks are faster and more powerful, but they also tend to be heavier and more expensive. It’s up to you to decide which type of jack is best for your needs and budget.
Conclusion
Changing a tire may seem daunting at first, but with practice and knowledge, it can become a simple and quick task. Remember to always prioritise safety when changing a tire and to follow the manufacturer’s recommendations for tightening and torque specifications. With the step-by-step guide, visual aids, frequently asked questions, and unique tips provided in this article, you should be well-equipped to handle any tire-changing situation that comes your way. Don’t be afraid to practice and become more confident in your ability to change a tire. It’s a skill that will serve you well as a driver.