Introduction
Learning how to take a screenshot on your iPhone is an essential skill that can come in handy in a variety of situations. Whether you want to capture a funny text conversation, save an important email, or show off a new high score in a game, taking a screenshot is quick and easy. In this article, we’ll show you how to take a screenshot on an iPhone using the physical buttons or software options. We’ll also provide troubleshooting tips and other helpful information to ensure that your screenshots come out perfectly every time.
Step-by-Step Guide
Taking a screenshot on an iPhone is a simple process:
- Locate the content you want to capture on your screen.
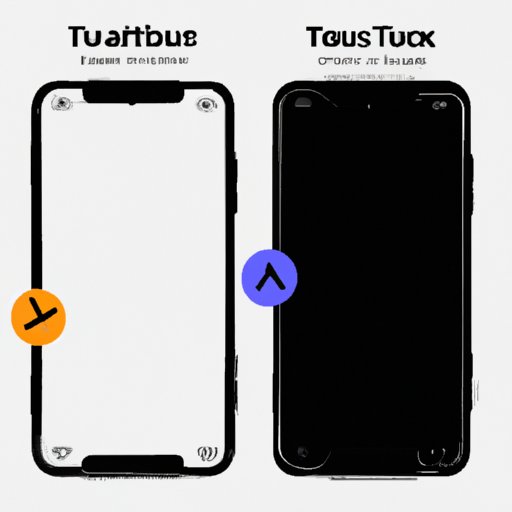
- Press and hold the Home button and the Sleep/Wake button at the same time. (On newer iPhones without a Home button, press and hold the Volume Up button and the Side button instead.)
- The screen will flash white and you will hear a camera shutter sound. This means that the screenshot has been taken.
- Open the Photos app to find your screenshot in the Camera Roll or Screenshots album.
If your screenshot isn’t saving properly, try these troubleshooting tips:
- Ensure that your iPhone has enough storage space.
- Restart your iPhone.
- Update your iOS to the latest version.
Video Tutorial
If you’re a visual learner, you may find it helpful to watch a video tutorial on how to take a screenshot on an iPhone:
Infographic
This infographic provides a visual guide to taking a screenshot on an iPhone:

Pros and Cons
There are two main ways to take a screenshot on an iPhone: the physical buttons and software options. Here are the pros and cons of each:
Physical Buttons
- Pros: This method is quick and easy. It works even if your iPhone is not connected to the internet or if you’re experiencing software issues.
- Cons: It can be difficult to press the buttons at the same time, especially if you have a larger iPhone. It may also result in accidental side button presses, which could activate other features such as Siri or Emergency SOS.
Software Options
- Pros: This method is more precise than using the physical buttons. It allows you to edit your screenshot before saving it, and you can even capture an entire webpage or document. It can also be useful if your iPhone’s physical buttons are not working properly.
- Cons: This method requires you to download a third-party app, which can take up storage space and potentially compromise your privacy if the app is not trustworthy.
In addition to these options, iPhone users also have other choices such as using Siri or AssistiveTouch to take screenshots. Experiment with different methods to determine which one works best for you.
FAQ
Here are some frequently asked questions about taking screenshots on an iPhone:
How do I find my screenshots?
Your screenshots will be saved in the Camera Roll or Screenshots album in the Photos app.
How do I edit a screenshot before sharing it?
After taking a screenshot, tap on the thumbnail that appears in the bottom left corner of your screen. This will take you to the editing screen, where you can crop, annotate, or add text to your screenshot before sharing it.
Why isn’t my screenshot saving?
If your screenshot isn’t saving, try restarting your iPhone, updating your iOS, or ensuring that you have enough storage space.
Conclusion
Capturing a screenshot on your iPhone is a valuable tool that can make your life easier. Whether you need to save a photo, document, or text conversation, knowing how to take a screenshot is an essential skill that every iPhone user should have. We hope that this article has provided you with all the information you need to take perfect screenshots every time. Remember to experiment with different methods and don’t be afraid to ask for help if you encounter any issues along the way.
